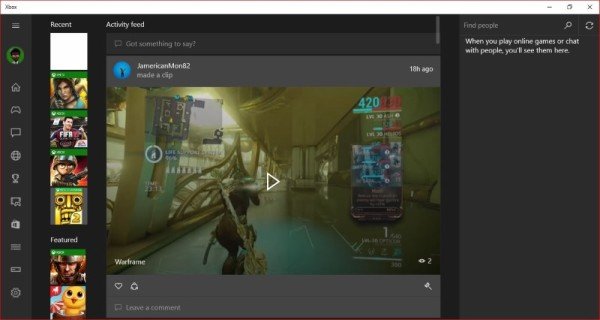
Activate Very High streaming on Windows 10 Xbox app
Now, we should point out that changing the quality of the streamed game is not as easy as opening the Xbox app, going to the settings area and clicking a button. Microsoft didn’t add an option for choosing a different quality setting apart from Low, Medium, and High, but we are inclined to believe this will happen in a future update, and Very High will be added. To get the job done, users will be asked to open Windows Explorer and type “%localappdata%\Packages\” into the address bar. After that, go the folder titled, “Microsoft.XboxApp” and open it. It is time to open a folder with the title, “Local State.” There’s a file inside known as “userconsoledata” that you will need to open right away. Make sure to open it in a text editor for easier operation, or other ways if they work best for you. Hit the search field in the text editor and locate “IsInternalPreview.” After finding it, change the variable to “True” then hit Save, close the text editor, and everything is ready to rumble. We suggest restarting the Xbox app for it to work, or even the PC for that matter. Here’s the thing with going down this route, it will now require more bandwidth to stream content. Usually, the normal way tends to use a minimum of 3 Mbps, but with the increase in quality, expect it to use around 20 Mbps. Not everyone can stream content at those speeds, to the latter should be just fine. Using a Very High setting, players should see a difference in the quality output. It is not clear as night and day, but clear enough.
