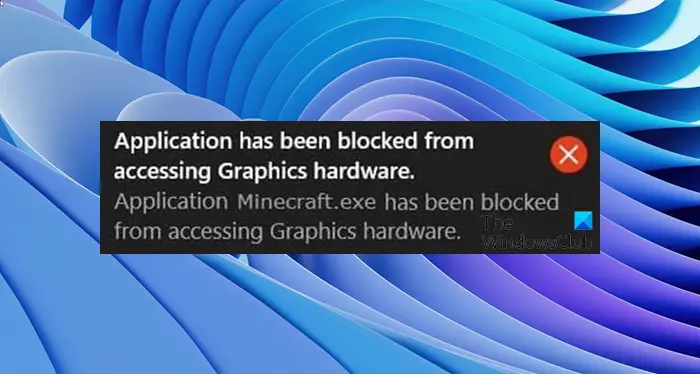
Application has been blocked from accessing Graphics hardware
In my experience, the problem majorly happens where the driver is not compatible with your existing Windows 11/10 version, and mostly fails to post a major update. This causes the GPU to take more time to respond to graphics requests and mostly fails. Let’s take a look at the possible solutions.
1] Uninstall and Re-install the graphics card driver
This is the first thing you need to try. Many a time the drivers downloaded from the Windows Update misconfigures. The best way is to download the latest drivers from the OEM site. You will need to search on the website using the details of your graphics card name. Check out our post on Uninstall and reinstall the drivers. When installing the driver, make sure to run the program compatibility mode for Windows 11/10.
2] Run the Hardware Devices troubleshooter
Windows comes with an inbuilt tool to troubleshoot any hardware devices. It is available under Settings > Troubleshoot. Run it, and if there is a problem which the application can fix, it will do so. Read more about how to use the Hardware Devices Troubleshooter.
3] Give access to graphics hardware to applications
Windows 11
In Windows 11, you can select which apps can use your graphics hardware. By default, this option is set to Power Saving mode where Windows decides the Graphics preference for different apps. But if you want, you can change this setting. The following steps will help you with that:
You can also give your graphics card access to the Microsoft Store apps. For this, you have to select the Microsoft Store apps in the drop-down menu for adding an app. After that when you click on the Browse button, Windows will show you the list of all Microsoft Store apps to select from.
Windows 10
Windows 10 Graphics settings allow you to dedicate applications to use a graphics card. This will work if you are having a problem with specific applications accessing graphics hardware. It works for both WIN32 Applications and Apps from the store. You can find this specific option under Settings > Display > Graphics Settings. Using this will not improve performance, but also can save a lot of battery life. Read more about using Graphics settings in Windows11/10.
4] Disable TDR checker
TDR stands for Timeout Detection and Recovery. This feature first appeared in Windows Vista and then has been there till Windows 11/10. The system is built to recover system graphics when the OS fails to receive a response within a certain amount of time. The default is set to 2 seconds. It may so happen that graphics card takes more time because of an intensive task, and OS feels there is some problem and restarts the graphics as a recovery method. The solution which we are suggesting now increases the TDR time to more than 8 seconds. This gives more window for OS to react. Note: In case you cannot find these keys, we suggest you create this by following the guide on docs.microsoft.com. Exit all the applications on the PC. Type regedit on the search box, and launch it with admin privileges. Browse to: Whichever is available – depending on your Windows version i.e. 32-bit or 64-bit, and do the following: For 32 bit Windows:
Select DWORD (32-bit) value.Type TdrDelay as the Name and click Enter.Double-click TdrDelay and add 8 for the Value data and click OK.
For 64 bit Windows :
Select QWORD (64-bit) value.Type TdrDelay as the Name and click Enter.Double-click TdrDelay and add 8 for the Value data and click OK.
Restart your PC after this so the changes can take place. The registry change we did adds another 8 seconds of delay to the TDR checker. So if the GPU responds back in 10 seconds, it still works. You may have to change this value to see what exactly works for you. If it still doesn’t work, you may have to take an aggressive step, and completely turn of TDR. You can do this by changing the “TdrLevel” enter the data value as 0, and then delete the TdrDelay key. Restart your PC once again.
How do I reinstall the graphics driver?
To reinstall the graphics driver, first, you have to uninstall it. The steps to uninstall the graphics driver are as follows: After the uninstallation process gets completed, you will have two options to reinstall the graphics driver:
Restart your computer: You can restart your computer after uninstalling the graphics driver and let Windows reinstall the latest version of the graphics driver automatically.Install the graphics driver from the manufacturer’s website: You can visit your manufacturer’s website and download the latest version of the graphics driver and install it on your system manually.
How do I update my graphics driver?
You can update your graphics card driver from the Device Manager. Simply right-click on your graphics driver in the Device Manager and select the Update driver option. Follow the on-screen instructions to update your graphics card driver. I am hoping all these suggestions help you. If you find something that solves your problem, do let us know in the comments.

