Toolbars in Windows 10 helps you add different things such as an address bar, links, folders, etc. If you are a frequent user of Windows 10 Troubleshooters, you can add a shortcut of them in the Taskbar with the help of Toolbars functionality. In other words, you can create a desktop shortcut of your desired Troubleshooter/s and add it/them in the Taskbar, followed by moving it/them to a folder.
How to add Troubleshooters toolbar in Windows 10 Taskbar
To add Troubleshooters toolbar in Windows 10 Taskbar, follow these steps: To get started, you need to create a desktop shortcut for your troubleshooter. For that, right-click on the desktop and select New > Shortcut. Now, enter the following location in the box and click the Next button. The aforementioned line lets you create a desktop shortcut for Network Adapter, and NetworkDiagnosticsNetworkAdapter is the package ID. You can follow this tutorial to find the package ID for other troubleshooters as well.
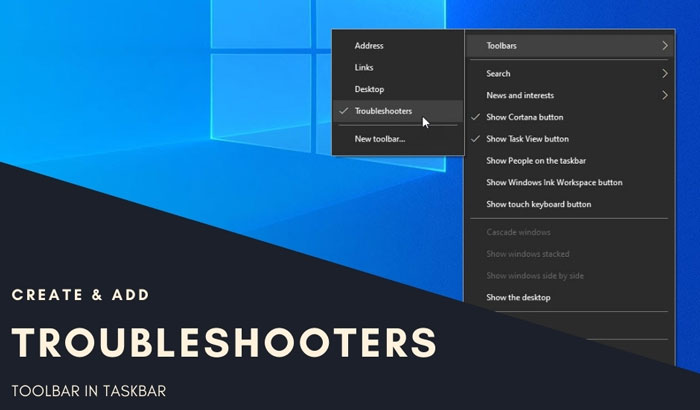
Now, you can enter a name for your troubleshooter and click the Finish button. Once the desktop shortcuts are ready, create a new folder on your Desktop and move the shortcut to the folder. Next, right-click on the Taskbar and select Toolbars > New toolbar.
Then, you can select the troubleshooter folder. Once done, you can see the folder in your Taskbar. To run a troubleshooter, click on the respective arrow and click on a troubleshooter.
You can place the shortcut folder anywhere you want, but it should remain unchanged. You can add new shortcuts but deleting the folder will affect the Toolbar. Also, if you do not need a troubleshooter frequently and want to remove it, you can delete the shortcut from the folder. This is how you can add or remove the Troubleshooters toolbar in Windows 10 Taskbar. Read: Create a custom toolbar to launch programs and files quickly from Windows Taskbar.