Set up Microsoft Remote Desktop on Mac to access PC
To access all the files, apps and work on Windows PC from your MacBook or MacOS device, all you need to do is use a free tool provided by Microsoft called Remote Desktop for Mac. To use Remote Desktop, you will need Windows 10 Pro or an Enterprise. Setting up a remote desktop on Mac is easy. In this article, we explain in detail how to install and set up a Microsoft Remote Desktop for Mac to control Windows PC.
Enable Remote Desktop on your Windows PC
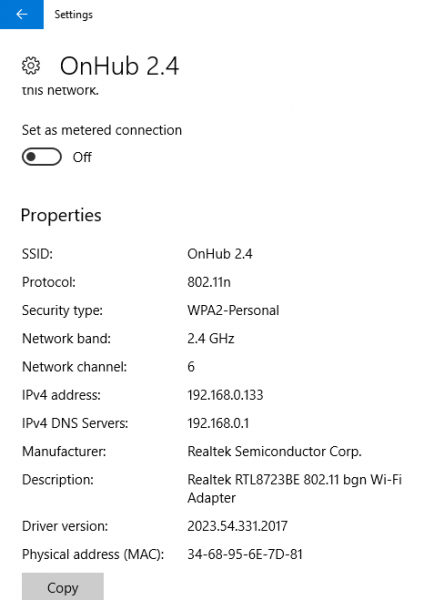
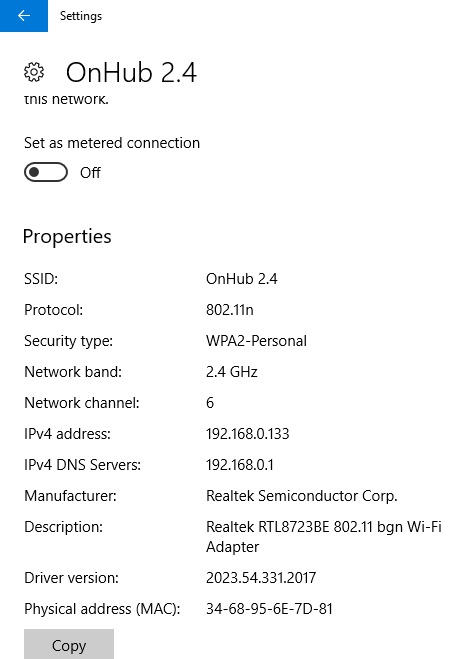
To enable Remote Desktop, on your Windows computer, go to the Start menu and click on Settings. Navigate to System and click on the option Remote Desktop on the left side of the menu. To Enable Remote Desktop, toggle on the Remote Desktop option. Click Confirm button in the small pop up window. Make sure that your PC is always awake to connect remotely. Change the sleep settings to never under remote desktop option. Before you switch to Mac in order to set up the remote desktop client, you need to first gather information about your Windows IP Address and PC name. To know your PC name in the same Remote Desktop Window, go to How to connect to this PC. Under this make a note of your PC name. To get your laptop’s IP address, navigate to Settings and click Network & Internet. Click Wi-Fi and select your network connection. Make a note of your IPv4 address from the Properties list.
Another straightforward way to get started is to download a simple program called Microsoft Remote Desktop Assistant on your Windows PC. The Remote Desktop Assistant will automatically change your remote connection settings and unlocks the firewall ports to let remote desktop. The program enables remote connections and keeps your PC awake upon installation. Follow the below steps to install the Remote Desktop Assistant on your Windows PC. On installation, click Get started to change your remote connection setting. Once done, it will display the information to connect like PC name, User name, QR code which you will need to add your PC to your remote device. Now switch to your MacBook to set up Microsoft Remote Desktop
Install & setup Microsoft Remote Desktop for Mac
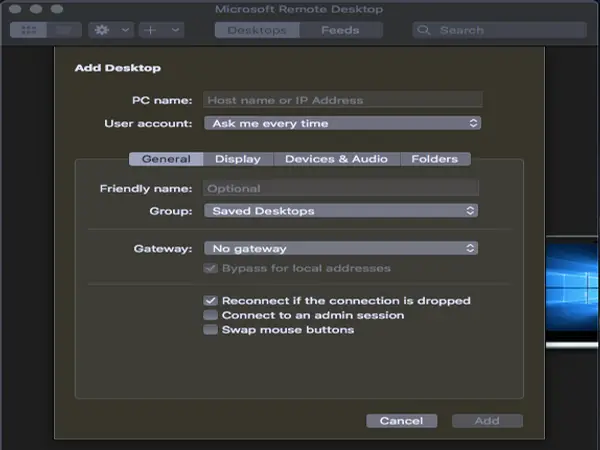
On your Mac, go to App Store and search for Microsoft Remote Desktop. Click Get button to download the app. Once done, launch the app and click the ‘+’ button at the top of the Microsoft Remote Desktop window. Select Desktop from the dropdown menu and enter all the details like the PC name or IP address which you had noted earlier. You are also provided with the option to configure a gateway to connect virtual desktops or session-based desktop on your company’s network if necessary.
Enter the domain credentials like username, the password for your PC to set remote connection. These fields are mandatory as you will need them to log in to PC through the remote connection.
Once done click Add button. You can also customize how you want the remote desktop to display your machine by making changes to the personal preferences in Settings like colors, screen modes, and resolution. To save the list, click the red button at the top of the window. Now select your username under MyDesktops and click Start at the top of the window to start the remote connection. Click Continue in the verify certificate pop up window. Once done, you will be able to view your Windows PC will be displayed in full screen on your MacBook or MacOS. To make any changes to the connection, click Edit at the top of the Microsoft Remote Desktop window. To change the preferences or add the gateway, click Preferences at the top of the Microsoft Remote Desktop window. That’s all.


