How to Reverse a Video on Windows 10 PC
To reverse a video, I will be using Reverse Video. As its name implies, it is a dedicated app to reverse your videos backward on Windows 10. You can watch video clips in reverse motion as well as convert a normal video to reversed one. To do so, you just need to open a locally saved video or record a video and then invert its direction using the available options.
It is very easy to use and provides good output. Also, it is quite fast in terms of creating reversed video. However, the processing speed also depends upon the length of your video. The longer the video the more time it will take to reverse a video. Let me now mention some of its key features that you can look forward to.
Main Features:
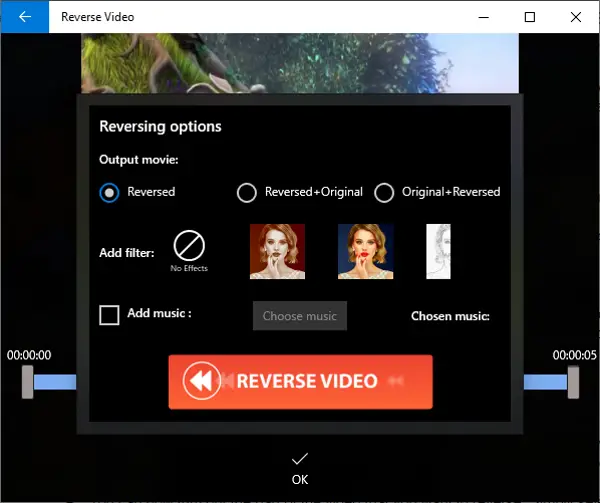
It works well with a number of input video formats that are WMV, MP4, MOV, and AVI. As output, you can export a reversed video in MP4 format only.Apart from local videos, you can also record a fresh video through your webcam and then reverse its motion.It lets you keep original and reversed both the videos in the output video.You can apply some standard filters over reversed videos.If you want to add music to output video, you can do that. It offers some sample music that you can use in the background of a reversed video. You can also upload a custom music file and add it to the video.You can cast a reversed video to a connected device.
How to use Reverse Video app
Here are the steps you can use to quickly reverse a video backward: It will process your video and reverse it backward in some time. You can simply watch the resulting backward video, save it to your PC in MP4 format, or cast it to another device. So, you can easily reverse the motion of a video using this free Windows 10 app. It provides more premium filters, but you can have access to them by purchasing one of its premium plans. It is available on Microsoft Store.

